
Last updated November 15, 2026
 Architectural shingles
 Metal roofing
 Tile roofing
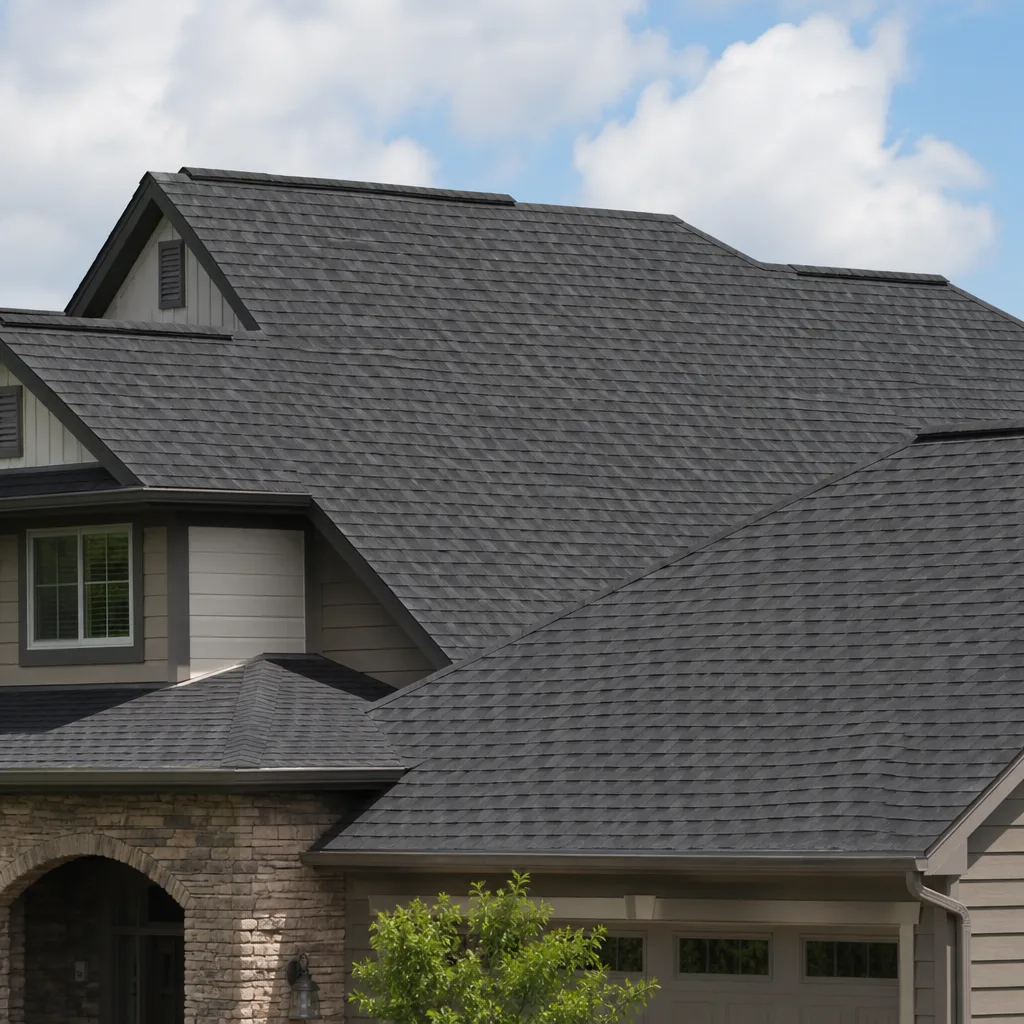 GAF
 Owens Corning
 Flat & low-slope
Free roof inspection with deck photos before we talk money - GAF and Owens Corning certified installation
Roof Repair Troubleshooting in Spring Valley: Common Problems and How to Fix Them
If a water stain has appeared on your ceiling under a second bedroom, the breach is rarely straight above it. On a desert roof baking in the afternoon sun, water often travels sideways under the shingles before it drops through the deck, so the actual entry point can sit at the ridge, a pipe boot, or a parapet wall 8 to 12 feet from where the stain shows. That single fact changes how you troubleshoot. This guide walks you through how to read a leak backward to its source, the failure points we find most often around Spring Valley, which checks are safe from a ladder, and when a roofer’s visit should cost you nothing at all.
Quick Answer
Most roof leaks in Spring Valley start at one of five places: pipe boots, parapet walls, HVAC curbs, valley flashing, or ridge caps. To find the real entry point, trace uphill and along the slope direction from the interior stain rather than looking straight up. Safe checks happen from a ladder at the eaves; walking a hot, brittle, or low-slope roof can do more damage than the leak itself. A free estimate is the right first call, and a paid inspection makes sense when you need written documentation for insurance or a replacement decision.
Styles & brands we work with
- Architectural shingles
- Metal roofing
- Tile roofing
- GAF
- Owens Corning
- Flat & low-slope
Table of Contents
- Why Spring Valley Roof Leaks Show Up Far From the Damage
- How to Map a Ceiling Stain Back to the Roof Entry Point
- The Five Most Common Spring Valley Roof Failure Points, In Order
- Safe DIY Diagnostics You Can Do From a Ladder
- When Walking the Roof Causes More Damage Than the Leak
- What Wind-Driven Rain Damage Looks Like on a Desert Roof
- Free Troubleshooting Visit vs. Paid Inspection: What’s Legitimate
- Repair or Replace: Reading the Troubleshooting Findings
Why Spring Valley Roof Leaks Show Up Far From the Damage
Water on a roof doesn’t fall straight down. It follows the path of least resistance, which on a low-slope or gently pitched roof means it runs horizontally under the shingle courses or along the underlayment until it finds a seam, a nail hole, or a low spot in the decking. Spring Valley’s climate makes this worse than in wetter parts of the country. The roof surface heats up hard during the day and cools fast after sundown, and that constant expansion and contraction opens tiny gaps at fasteners and flashings. When rain finally arrives, usually in a short, intense burst, water slips into those gaps and travels before it ever reaches your ceiling.
The desert geography adds its own wrinkle. Homes here sit on slopes and grades that drain toward the street or the back wall, and roof planes are often built with valleys that channel a lot of water into a narrow line. If the valley flashing has lifted even a little, water rides sideways along it and shows up in a room that has nothing to do with the visible problem. We install products from seven of the industry’s leading brands, including Owens Corning, IKO, and Atlas, and the one thing every material has in common is that it only performs as well as the flashing and fastening around it. That’s why an honest troubleshooting pass starts with water movement, not with the stain.
If your home has a flat or low-slope section, expect water to pool and creep rather than sheet off. That single geometry explains most of the “mystery” leaks we get asked about in Spring Valley. Knowing it changes where you look first.
How to Map a Ceiling Stain Back to the Roof Entry Point
You can narrow down the entry point from inside the house before you ever climb a ladder. The trick is to think in three directions at once: up, uphill, and along the slope.
- Mark the stain’s edges with tape. Photograph it and note the date. A stain that grows after rain confirms an active leak; one that stays put may be old.
- Find the slope direction above the room. Step outside and look at the roof plane that covers that part of the house. Note which way it sheds water. Water almost always enters higher on the slope than the stain and travels down-slope, so start your search uphill from the stain, not directly over it.
- Measure the offset. On a gently pitched roof, the entry point can sit 8 to 12 feet uphill. On a low-slope roof, water can move even farther horizontally along underlayment.
- Check the attic or crawl space if you have one. Look for water tracks, dark staining on rafters, or daylight at penetrations. The track pattern points you toward the entry point faster than anything else.
- Note the roof geometry. Valleys, hips, ridges, and wall intersections above the room are the first suspects. A stain under a bedroom that sits below a valley is a valley flashing problem until proven otherwise.
This mapping step is the heart of good troubleshooting. It’s also why a roofer who only looks straight up at the stain is likely to miss the cause. A documented assessment that traces the path, rather than guessing at the spot, is what our Roofing Spring Valley inspection-first approach is built around.
The Five Most Common Spring Valley Roof Failure Points, In Order
After enough troubleshooting visits, a pattern shows up. These five locations cause the overwhelming majority of leaks in Spring Valley, and knowing what each looks like in early failure helps you spot trouble before it reaches your ceiling.
1. Pipe Boots
The rubber or neoprene collar around a plumbing vent is the number one culprit. In desert heat, that collar dries out, cracks, and pulls away from the pipe. Early failure looks like a hairline split at the top of the boot or a gap where the rubber meets the pipe. By the time water is inside, the split is usually a full tear.
2. Parapet Walls
Many Spring Valley homes have a low wall at the roof edge. The cap or coping on top cracks, the sealant at the wall-to-roof joint fails, or stucco pulls away and lets water in behind the wall. Early failure shows as a fine crack along the cap seam or a lifted bead of sealant at the base.
3. HVAC Curbs
Where the air conditioning unit sits on a raised curb, the flashing and sealant around it take direct sun. Look for cracked mastic at the curb corners or rust streaks below the unit. That rust is water finding a path.
4. Valley Flashing
The metal channel where two roof planes meet carries a lot of water. Early failure looks like lifted edges on the flashing, debris trapped in the valley, or rust spots along the seam. Water can ride this line sideways for a surprising distance.
5. Ridge Caps
The shingles folded over the top ridge take wind and sun from every angle. Nail heads backing out, curling tabs, or gaps at the seam are early warning signs. On a windy desert rain, ridge cap gaps let water in where the stain may be far below.
Material choice affects how these wear. A value-tier shingle from a manufacturer like Tamko can perform fine, but a premium line from Owens Corning or IKO may hold up longer in full sun. We’ll tell you which trade-off makes sense for your roof rather than pushing one brand.
Safe DIY Diagnostics You Can Do From a Ladder
You can learn a lot without ever getting on the roof. These steps keep your feet on the ladder and your body off a hot, brittle surface.
- Check the gutters and downspouts first. A stopped-up gutter sends water backward under the first course of shingles and can mimic a roof leak. Clear debris and look for staining on the fascia board.
- Look at the eave line and drip edge. From the ladder, check for gaps, lifted flashing, or shingles that have pulled away at the bottom edge.
- Inspect pipe boots and penetrations you can reach safely. A split boot is often visible from a ladder braced at the eave. Don’t lean out or stretch; if it’s out of reach, note it and leave it to a pro.
- Photograph everything. Wide shots of the roof plane, close-ups of suspect areas, and shots of the interior stain. Dated photos are invaluable if you file a claim.
- Check the attic from inside. Look for water stains on the underside of the deck, damp insulation, or rusted nails. This is the safest and most revealing diagnostic you have.
What you shouldn’t do: pull up shingles, poke at flashing with a screwdriver, or apply a tube of sealant to a spot you haven’t traced. Caulking the wrong place traps water and pushes the problem somewhere else. Our technicians have up to 13 years of experience, and they’ll tell you the same thing: a small tube of sealant over an unknown leak makes the next troubleshooting visit harder.
When Walking the Roof Causes More Damage Than the Leak
There’s a real cost to walking a roof, and in Spring Valley’s heat that cost is high. Three conditions make walking a bad idea.
- Low-slope or flat roofs. Foot traffic on a flat roof membrane or a low-slope shingle system can crush the surface, break seams, and create new leaks. This is where most accidental damage happens.
- Age and brittleness. An older shingle roof in the desert dries out and loses flexibility. Every footstep can crack tabs, and cracks become leaks.
- Wind. A gusty day is the wrong day to be up high, and lifted shingles can tear further in the wind. High wind also makes a ladder unstable.
When a roof is low-slope, old, or backed by fragile material, the right move is a documented assessment done by someone who knows how to move across it without causing harm. That’s where roof repair as a specialty matters. A roofer who only works on roofs reads the surface differently than a general handyman, and the difference shows up in how long the fix lasts.
If you’re unsure whether your roof is safe to walk, don’t test it. Call and ask. A quick conversation can save you a broken shingle or worse.
What Wind-Driven Rain Damage Looks Like on a Desert Roof
Wind-driven rain is the leak type desert homeowners underestimate. In a normal rain, water falls mostly straight down and drains the way the roof was designed. When wind drives the rain sideways, it pushes water uphill against shingles, into ridge vent openings, and behind flashing. That’s when a roof that seemed fine suddenly leaks.
On a desert roof, wind-driven damage has a specific look. You’ll often find windward-facing damage first: missing or lifted shingles on the side the storm came from, sealant peeled back at parapet caps, or debris driven into valleys and under flashing edges. Water can then travel laterally under the field of shingles and show up on the leeward side of the house, which throws people off. If the stain appears in a room that faces away from the wind, don’t assume the roof there is the source.
This matters for insurance documentation in Clark County. Insurers want to know whether damage happened during a specific storm, and photos with dates are the evidence that supports a wind-driven claim. A documented inspection that records the storm direction, the windward damage, and the interior stain will make a claim far easier to process than a single blurry photo of a ceiling. If you’ve just been through a wind event and something is wet inside, the fastest way to sort it out is a call. We answer 24/7, and fast dispatch runs from 7am to 7pm, Sunday through Friday.
Free Troubleshooting Visit vs. Paid Inspection: What’s Legitimate
Here’s the question homeowners ask most: why would a roofer charge for one visit and not another, and is that a red flag? The answer comes down to what the visit is meant to produce.
A free estimate is for pricing work you’ve already identified. You have a leak, you know roughly where it is, and you want a written number for fixing it. That visit should cost nothing, and the estimate should be itemized so you can see what’s being repaired and what it costs. Roofing Spring Valley offers free estimates in Spring Valley, and the written quote sets the final price. No change orders, no surprise line items once the work starts.
A paid inspection is a different product. It makes sense when you need documentation rather than a repair quote: an insurance claim, a pre-sale roof report, a replacement decision, or a second opinion after a vague diagnosis. A legitimate paid inspection should include:
- A written report of findings, not just a verbal summary
- Dated photos of each failure point or area of concern
- An assessment of remaining service life and material condition
- Clear separation between what’s urgent, what’s routine, and what can wait
- A line-item list of repair versus replacement options
What a paid inspection shouldn’t be is a sales pitch in disguise. If the report leads with a replacement quote before it explains the condition of your roof, that’s a sign to get a second opinion. Our inspection service produces documented findings before any work begins, and the findings are what the conversation is built on.
Repair or Replace: Reading the Troubleshooting Findings
Once you know where the leaks are, the next decision is whether the roof can be repaired or has reached the end of its useful life in this climate. A few questions settle it.
- How many failure points are there? One or two localized leaks are usually a repair. Five or more scattered failures across the roof suggest the material is failing globally.
- What condition is the field of shingles in? Widespread curling, cracking, or granule loss points toward replacement. Isolated damage points toward repair.
- How do the flashings and penetrations look? If the boots, valleys, and curbs all show early failure at once, the roof has aged together, and repair becomes a series of patches on a surface that’s already gone.
- What’s the repair cost versus the roof’s remaining life? If a repair buys only a year or two of service, putting that money toward a replacement is usually the better call.
This is where brand breadth helps. The seven brands we install, including Owens Corning, IKO, Atlas, and Tamko, span value, mid-range, and premium tiers. That means the replacement decision isn’t a single price point, it’s a choice matched to your roof and budget. When a repair is the right answer, we say so. When it isn’t, the written options make the upgrade path clear. Our roof replacement process starts from the same inspection findings, so there’s no jump from diagnosis to sales pitch.
Common Mistakes to Avoid
- Looking straight up at the stain instead of uphill. On a hot desert roof, water runs horizontally before it drops. The entry point is often 8 to 12 feet from where the water shows, so trace the slope first.
- Caulking a spot you haven’t traced. Sealant over an unknown leak traps water and pushes it to a new low point. On Spring Valley roofs, that often means the leak reappears somewhere else within a season.
- Walking a low-slope or brittle roof to “take a look.” Foot traffic creates new failure points, especially on flat sections and older shingles. Check from a ladder and the attic instead.
- Skipping the interior inspection. The attic tells you more than the roof surface does. Water tracks on rafters and daylight at penetrations narrow down the source fast.
- Confusing a stopped gutter with a roof leak. Overflowing gutters can push water under the first course and stain the ceiling. Clear them before you assume the worst.
- Missing the wind direction on a storm claim. Wind can lift flashings four to six feet from the point of entry, so check windward faces first and record what you find with dated photos.
- Accepting a verbal quote with no photos or findings. On a roof in this climate, a written report with dated images is the only way to compare options and know whether a repair or replacement is actually warranted.
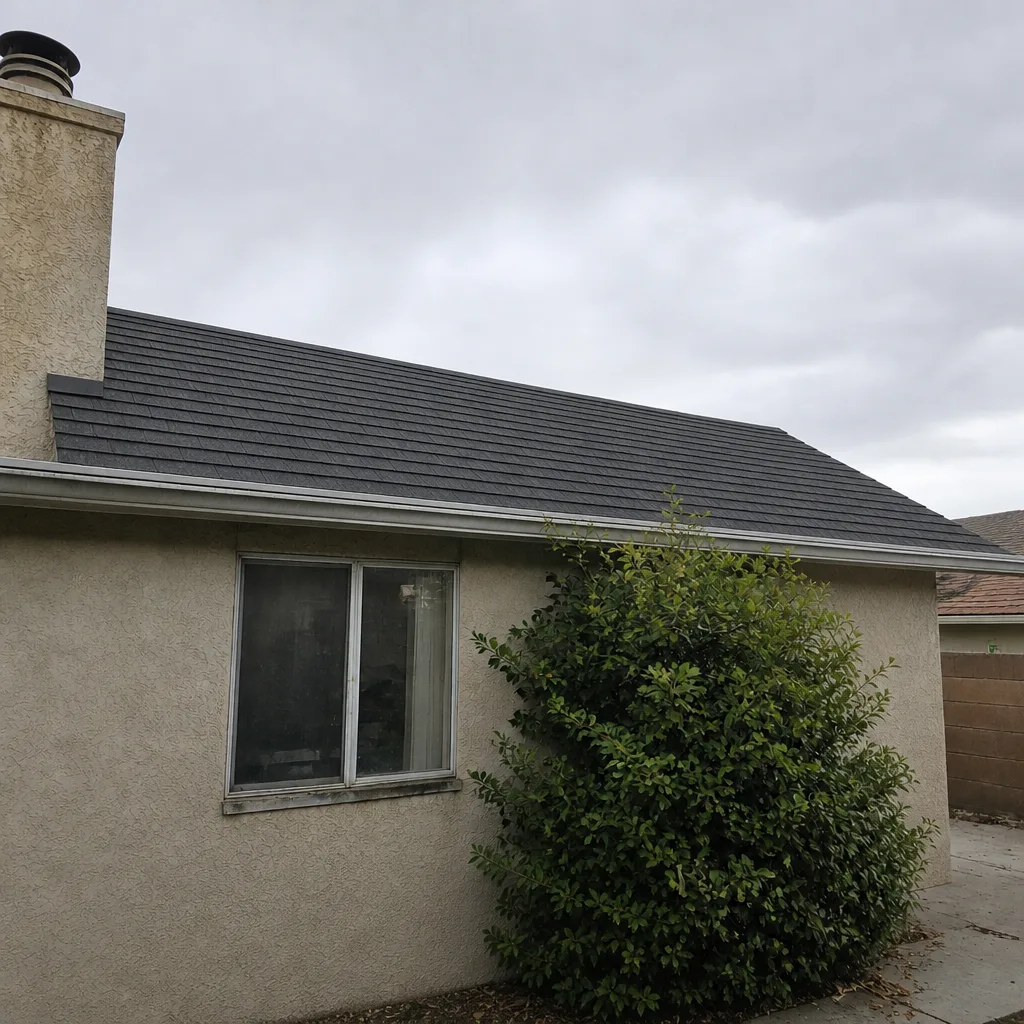
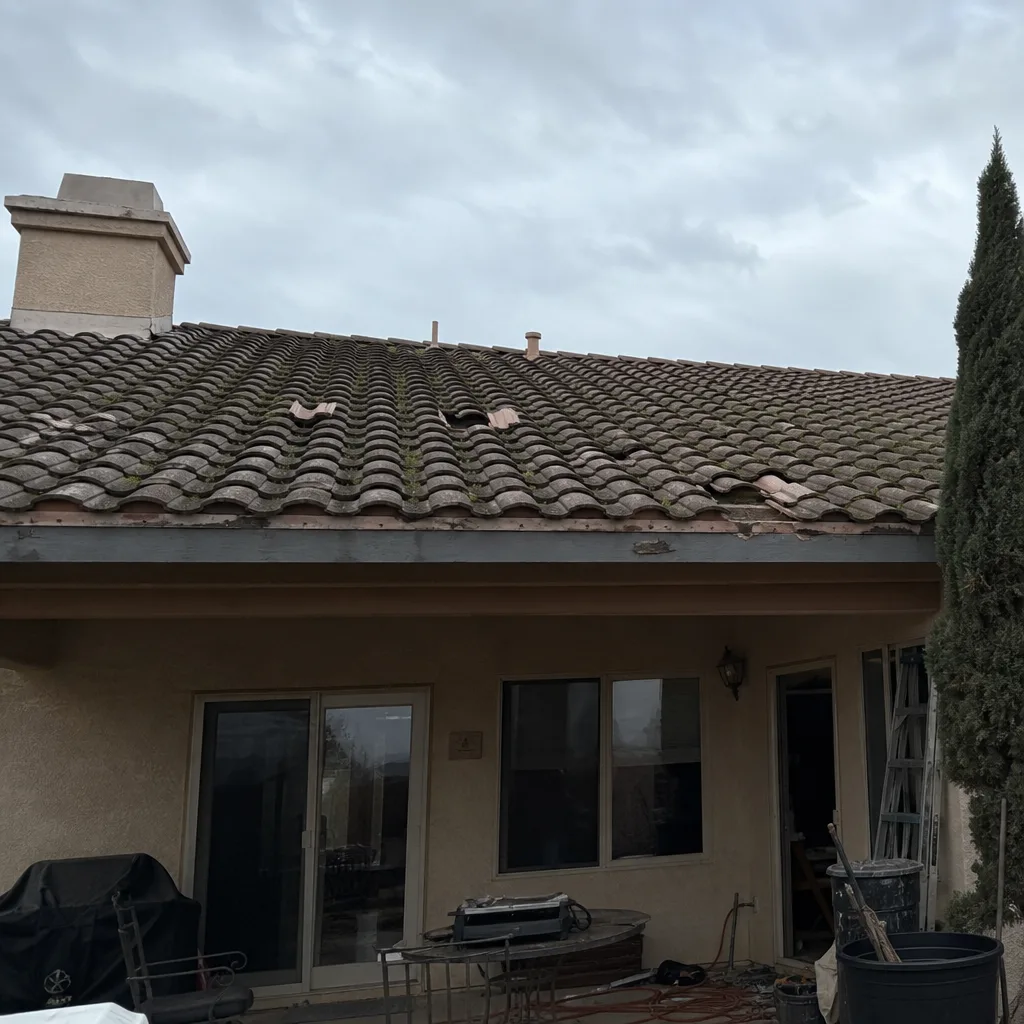
See the difference
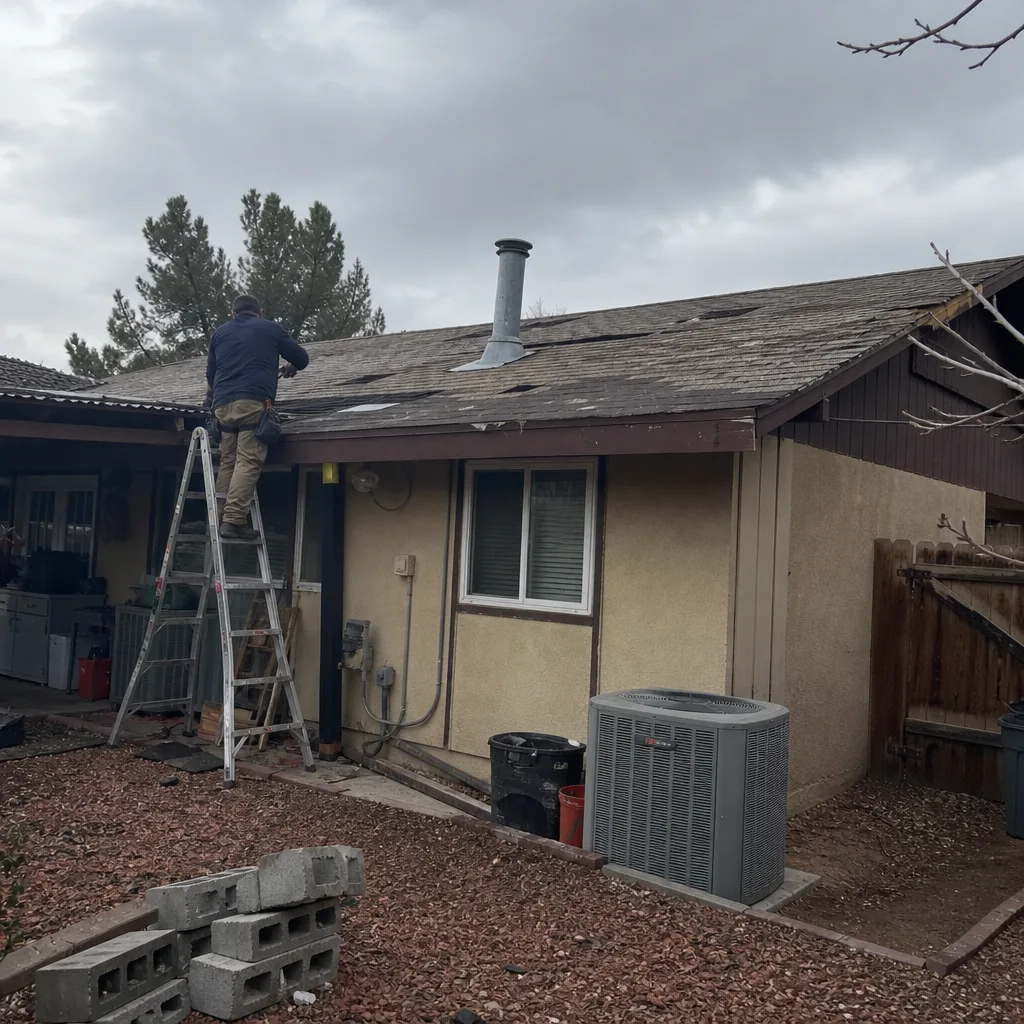 Before
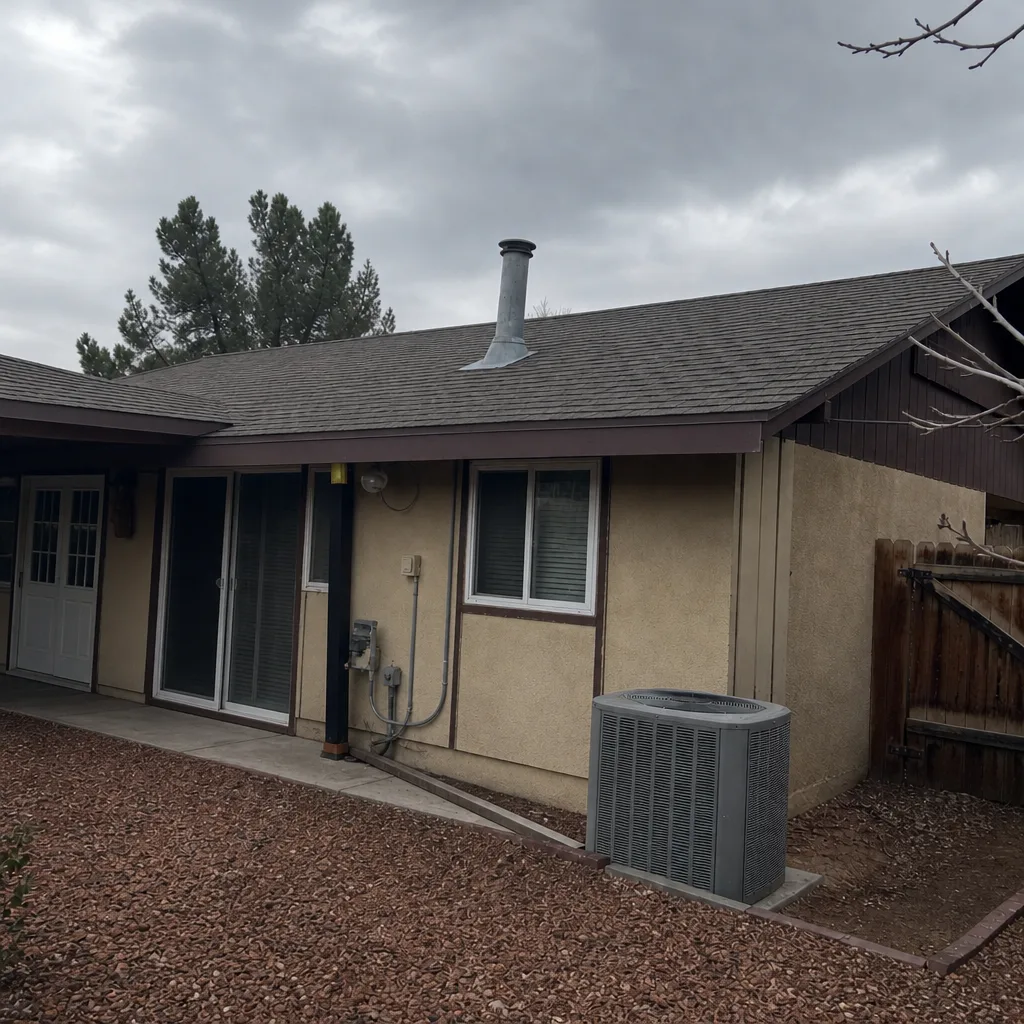 After
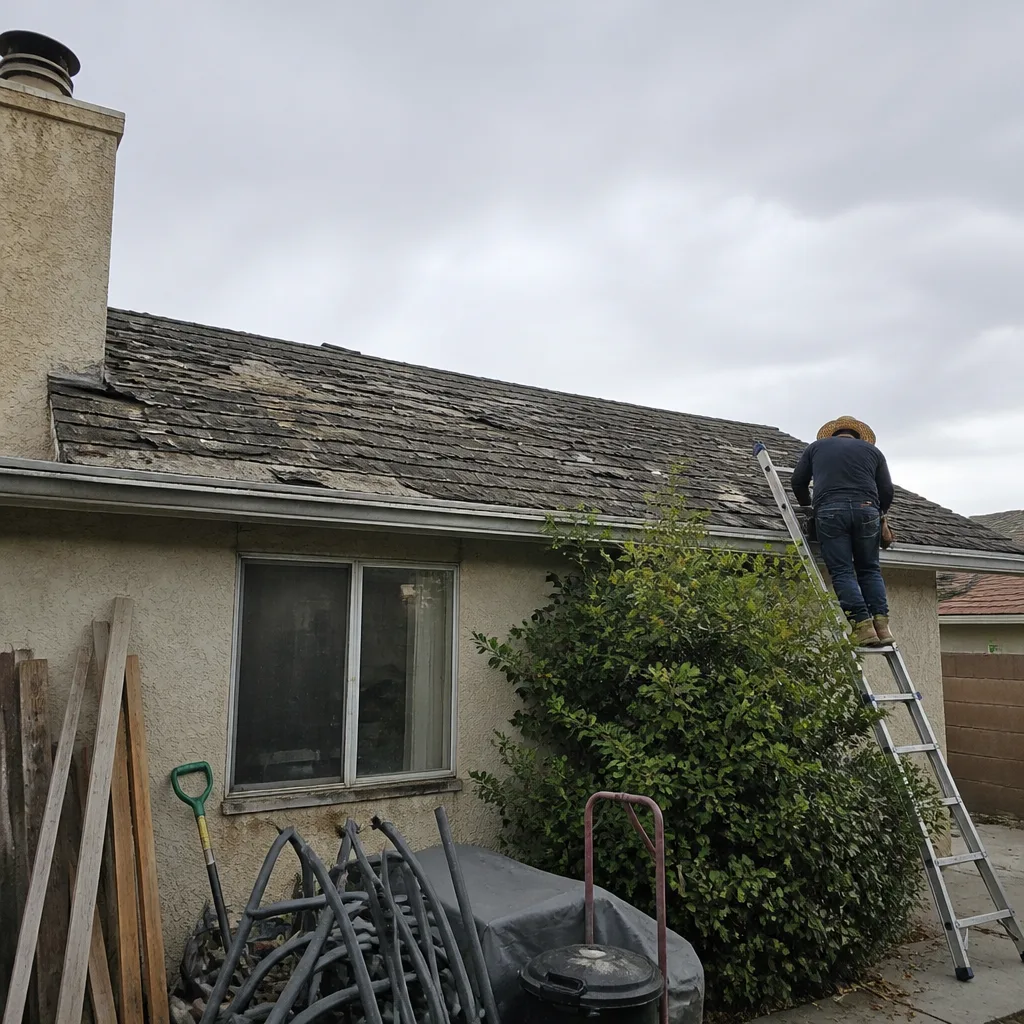 Before
 After
 Before
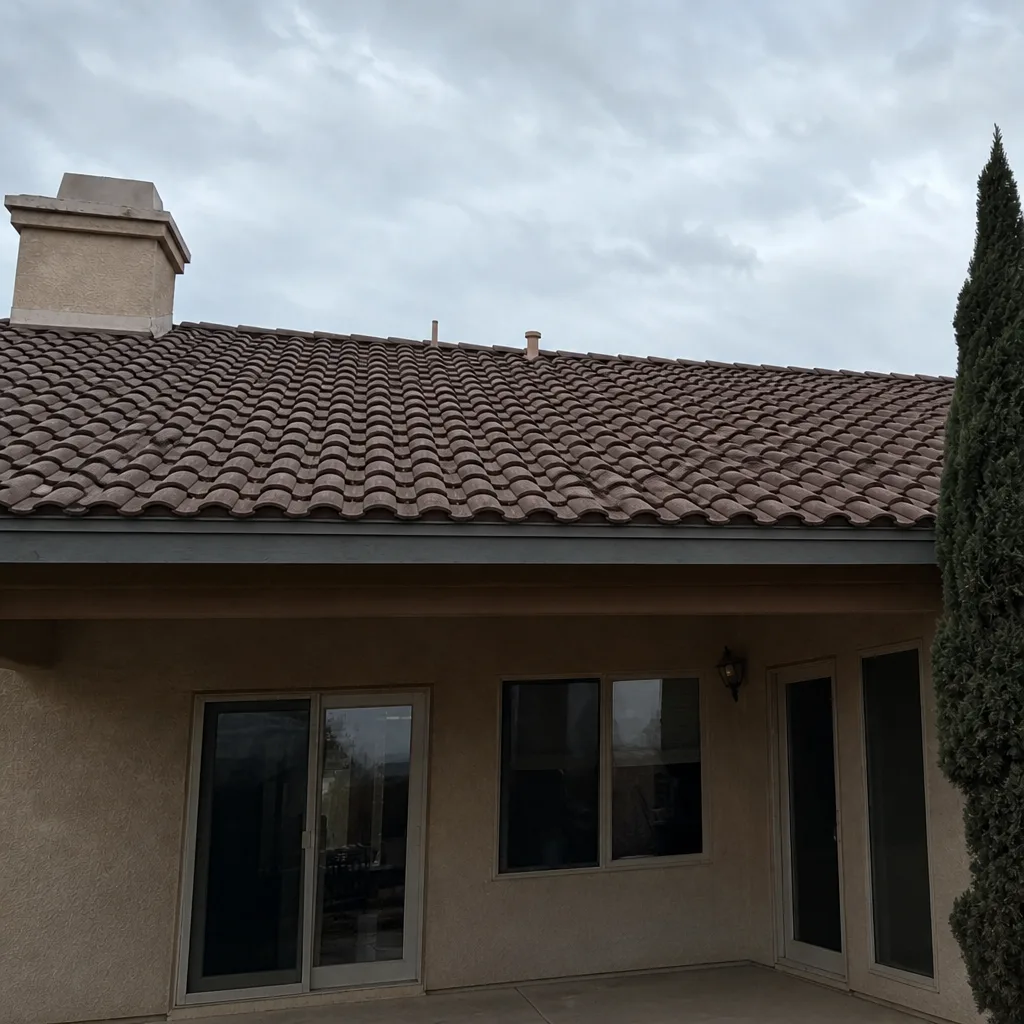 After
When to Call a Professional
Call a professional when the leak is active and the ceiling stain is growing. Call when you can see a split pipe boot, a lifted valley flashing, or a cracked parapet cap but can’t safely reach it. Call if your roof is low-slope or more than a few years old, because the surface won’t tolerate a DIY inspection. Call if you’re filing an insurance claim and need wind-direction documentation, or if a previous repair didn’t hold. Roofing Spring Valley offers free estimates in Spring Valley. Call (877) 851-0738. We answer 24/7. Fast dispatch from 7am to 7pm, Sunday through Friday.
Frequently Asked Questions
A troubleshooting estimate is free when it leads to a repair quote, and the price of the repair itself is set per job by a written estimate. A paid inspection is a separate, documented product that makes sense for insurance claims, pre-sale reports, and replacement decisions. Call (877) 851-0738 for an exact quote; estimates are free.
Yes, in most cases. A technician can map the stain from inside, check the attic for water tracks, and inspect penetrations and flashings from a ladder and from ground angles. Walking the roof is only necessary when the evidence points to a hidden failure in the field of shingles.
Because water travels sideways under the shingles and along the underlayment before it drops through the deck. On a hot, low-slope, or gently pitched Spring Valley roof, the entry point can be 8 to 12 feet from the stain, usually uphill or along a valley or wall line.
No. The written estimate sets the final price for the scope it covers. If the technician finds additional damage once the repair is open, the new findings are documented and priced separately before any extra work begins. Call (877) 851-0738 to schedule your free estimate.
Whether a permit is required depends on your city’s building department and the scope of work. Ask before work starts, and ask the contractor to confirm. A legitimate roofer will tell you clearly what needs a permit and what doesn’t, and the answer will be in writing.
A localized repair such as a pipe boot or a flashing fix is typically a short job, often completed in a single visit. Larger repairs that involve multiple failure points or opening up the deck take longer. The written estimate sets the timeline for your specific scope.
The Bottom Line
The stain is a clue, not the location. In Spring Valley’s heat, water travels along the slope and under the shingles before it reaches your ceiling, so the real breach is usually uphill or off to the side of what you see. Trace from the stain to the ridge, look for the five common failure points in order, and do your inspection from a ladder and the attic rather than off a hot, brittle roof. When you’re ready for a documented assessment, we install products from seven leading brands and we’ll tell you when a repair is the right answer and when it isn’t. Call (877) 851-0738 to schedule your free estimate.
Written by the team at Roofing Spring Valley.